


Jugito’s Ha’ole Hawai’i Sourdough Bread: How to Make and Bake Exotic Island Bread
Copyright © 2011 by Bob Hurt. All rights reserved. Distribute freely with attribution.
Two years ago last June (2009), Maria and I vacationed for a couple of months with Lisa, Maria's niece, in Hawaii, on the Big Island. I tried to buy some "genuine" Hawaiian sourdough starter from a Hilo kitchen supply shop run by a local chef. He claimed his starter constituted a "trade secret" and he couldn't give or sell any of it to anybody. No way.
A few days later, I decided to make my own. I needed locally grown carbohydrates to culture and feed indigenous bacteria and yeast. I bought a taro root and white (super sweet) pineapple from a Hilo farmer's market. At my Hilo residence, I peeled and boiled the taro root; then I tried to pulverize it in the blender. No go. The blender didn't have the power, so I went at it with a fork. In the old days native women pounded taro between two rocks to pulverize it. I had the devil of a time doing it with a fork after cooking it. I finally produced a mess of lumpy goo.
I sliced out some pineapple, crushed it in the blender, and mixed it in. I let the starter mix sit on the windowsill out of the sun for a few days. A rubber band held a paper towel onto the glass. The first batch turned putrid. The next batch fermented well and turned out okay, vigorously bubbling. I fed it flour and bottled water for a few days, I ended up drying a ziplock baggie of it and taking it home stateside. Now, after two and a half years, I took the baggie out of the refrigerator and reconstituted it over several days, similar to making the start from scratch. Now I have prepared some starter to send to loved ones by drying it.
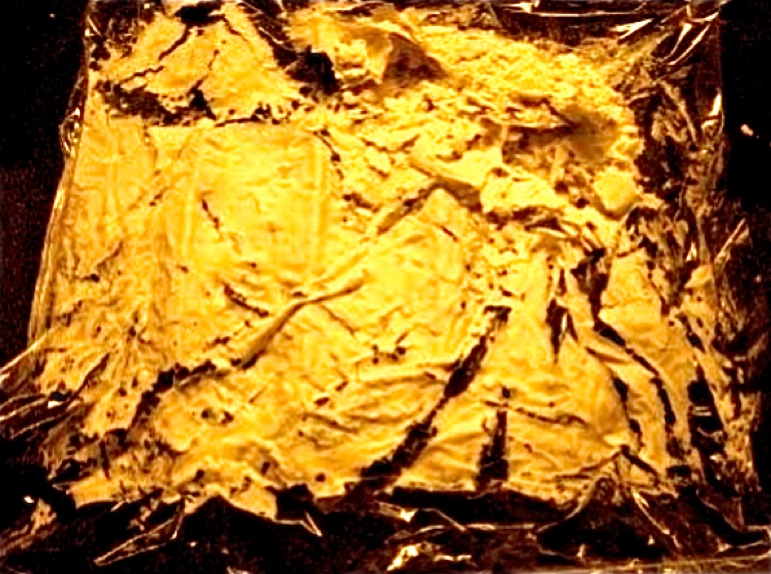
I brush the starter onto plastic wrap, let it dry, then crinkle it into a baggie for mailing. You reconstitute it by adding water and flour and letting it sit covered on the counter till it starts bubbling, then feed it with ground or cooked grains or other carbs (potatoes, wheat or rye flour, rice, oatmeal, cream of wheat, etc.) with water to make a loose goo every 8 hours for a few days. You can use the sponge/starter for sourdough pancakes or bread right away, but it gets better with some feeding cycles. The dried starter on plastic wrap looks like this:
Making Sponge
First, I triple the starter from two tablespoons with equal weights of water and flour, let it ferment 9 hours, then repeat this twice more till I have 200 grams thereabout of "sponge."
My no-knead method of making and baking the bread:
-
1.Get a kitchen scale to weigh stuff. 1 Tsp = 5 grams; 1 TBSP = 15 grams, 1 pint liquid = 1 pound = 454 grams. Flour and sponge weigh less than a pound per pint.
-
2.Sponge weight = X
-
3.Add 3X reverse osmosis/unchlorinated water to the sponge and mix it well with a spoon; I toss in another 1/4 cup water to make it a little sloppier for better rising.
-
4.Add .1X (point one x) by weight seasalt; stir in well. For 200 g sponge I use 4 tsp salt.
-
5.Pour this mix into big bowl containing 5X bread flour (13% protein with trace of malt)
-
6.Mix well, getting all ingredients wet.
-
7.Wait 45 minutes for fast yeast, or 1+ hour for slower yeast. This stuff was pretty fast.
-
8.Dust countertop with flour, then stretch dough out on it, dust with flour, poke it all over with finger tips down onto surface, then fold it up bit by bit into a big blob, and return to bowl.
-
9.Repeat 7 and 8 twice more
-
10.Wait 1/2 hour.
-
11.Form into loaves, cover with saran wrap or upside down bowl/pan, ideally so you can see it rise.
-
12.Wait till it rises significantly. It could take hours. In this case it took 2 to 3 hours.
-
13.Heat oven to 500F.
-
14.Slice tops with X or long groove 2 to 3" deep. I snip with scissors because a knife tears the sticky dough.
-
15.Put in oven and bake; turn oven to 425F after 15 minutes.
-
16.Remove when internal temp reaches 190F. I use a Taylor probe thermometer I bought at amazon.com for about $5.
For letting the dough rise, I wait till my patience has grown old and I worry that the yeast has depleted the dough. Then I snip long ways with scissors in the sloppy dough (I hydrate it more than normal because wetter dough rises more easily). Then I put it in a 500 degree F oven.
I pull it out in 15 minutes, paint it with beaten egg with similar volume of milk, sprinkle poppy seeds on it, paint it again, and stick it back in the oven. After 5 minutes, I lower the temperature to 425F and stick a thermometer probe in one of the loaves.
When the temp hits 190F to 194F, I remove the probe, remove the loaves from the oven, turn off the oven, turn out the loaves onto a wire rack, and set the rack on top ot the open bread pans to cool. If I set the rack on the stove top, humidity collects on the bottoms of the loaves. I let the loaves cool a minimum of 30 minutes. This lets them finish cooking inside and cool enough to retain moisture.
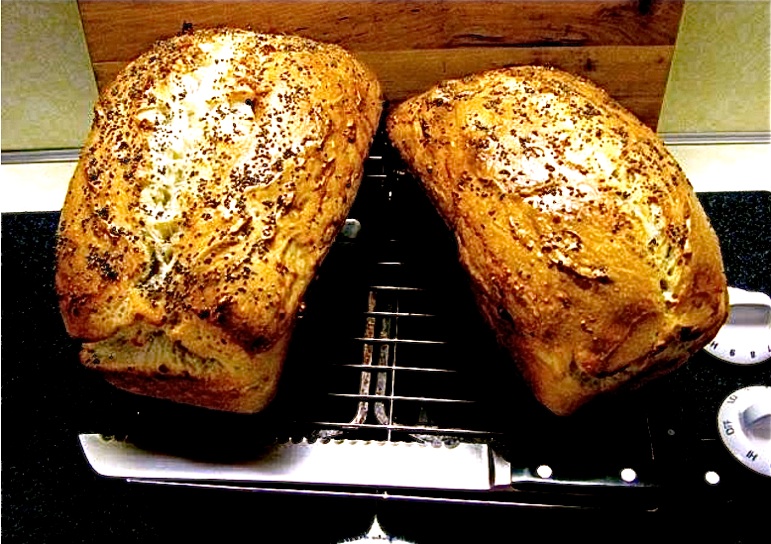
Ha'ole Hawai'i Sourdough Bread loaves cool best on rack atop hot bread pans.
I photographed these loaves immediately after setting the wire rack on the bread pans. They smelled up the house with their delicious aroma at 3 AM this morning.
The loaves developed a gorgeous brown sheen because of the egg wash, which also gave the crust a good crunchiness. I preheated the oven to 500F because I find it necessary to balance even cooking inside with development of a nice crust on the outside. Too low a temperature leaves the loaves with a light and washed-out-looking crust. Too high makes the crust darken excessively or burn before the insides reach terminal temperature of 190F.
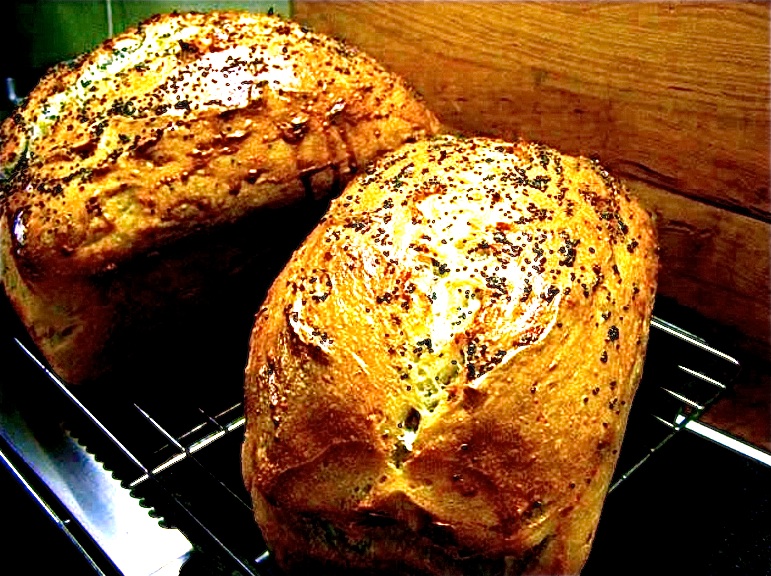
Ha'ole Hawai'i Soudough Bread loaves have crunchy crust
The amount of oven spring you get depends on the kind of starter, ingredients in, temperature, and gluten development of the dough, and both time and temperature during the rise before baking. I have not determined the ideals for these with dough made from the Hawaiian starter. Ideally, the oven spring will expand the loaves to the point of cracking the crust, so I must put the loaves in the oven near depletion of the yeast action in the dough. If I put it in too soon, the loaves will turn out too dense, and will give no oven spring. Too late and I'll get little oven spring, and the bread might taste too tart because of over-development of acetic acid from bacterial action, or get dense from gas loss.
I don't worry about it much, though. Look at what the pros do at Acme(http://acmebread.com).

Next you see the crumb (texture) of a loaf I sliced into late this afternoon. Maria spread the slices with garlic butter, oven-toasted them, and served them with my homemade spaghetti and meatballs. The girls at the table gave the bread two thumbs up, and went back for seconds.
Want a bite of that delicious Ha'ole Hawai'i Sourdough Bread?
Want to make your own?
Okay, SASE to me with a $10 bill or via PayPal, or a wee bit o' silver or gold.
I'll send you some Jugito brand Ha'ole Hala-kahiki / Kalo* Hawai'i Sourdough Bread Starter. I'll also hand-hold you through the process till you bake like a Ha'ole pro.
(Shhh! Trade Secret!)
* Meanings of some Hawaiian words -
-
•Ha'ole - Hawaiian lingo for Caucasians - hao'le ("no-breath") literally means ghost. I'm a ha'ole.
-
•hala-kahiki - pineapple
-
•kalo - taro
The online translator didn't show me translations for bread or sourdough.
enough